Here’s a new way to use up overly ripe bananas that is sure to rival even your favorite banana bread recipe! These are a simple, but delicious dessert to take along to any pot luck and dare we say, they are even good leftover for breakfast.
For the Blondies
1 cup browned butter, melted
2 cups light brown sugar
2 whole eggs
1 tablespoon vanilla
2 teaspoons salt
2 cups all-purpose flour
1 cup mashed banana
For the Browned Butter Icing
½ cup browned butter, softened
1 cup light brown sugar
2 cups powdered sugar, sifted
¼ cup whole milk
Instructions
Preheat oven to 350 degrees.
In a mixing bowl with an electric mixer, cream butter and sugar until light and fluffy. Once combined, add eggs one at a time, mixing in between each addition.
Add vanilla and mix. Add salt and flour and mix on low until just combined.
Using a silicone spatula, gently fold in mashed banana.
Line a 9×9 square cake pan with parchment paper and lightly grease. Pour banana mixture into pan and bake for 25-30 minutes, or until a toothpick inserted into the center comes out clean.
Set aside on a cooling rack. While blondies are cooling, make the browed butter icing.
In a medium bowl with an electric mixer, combine softened browned butter and brown sugar until light and fluffy.
Add powdered sugar and mix until fully incorporated and smooth.
If icing is very thick, add two tablespoons milk and mix to start. Continue adding milk in small amounts until icing is desired consistency and spreadable.
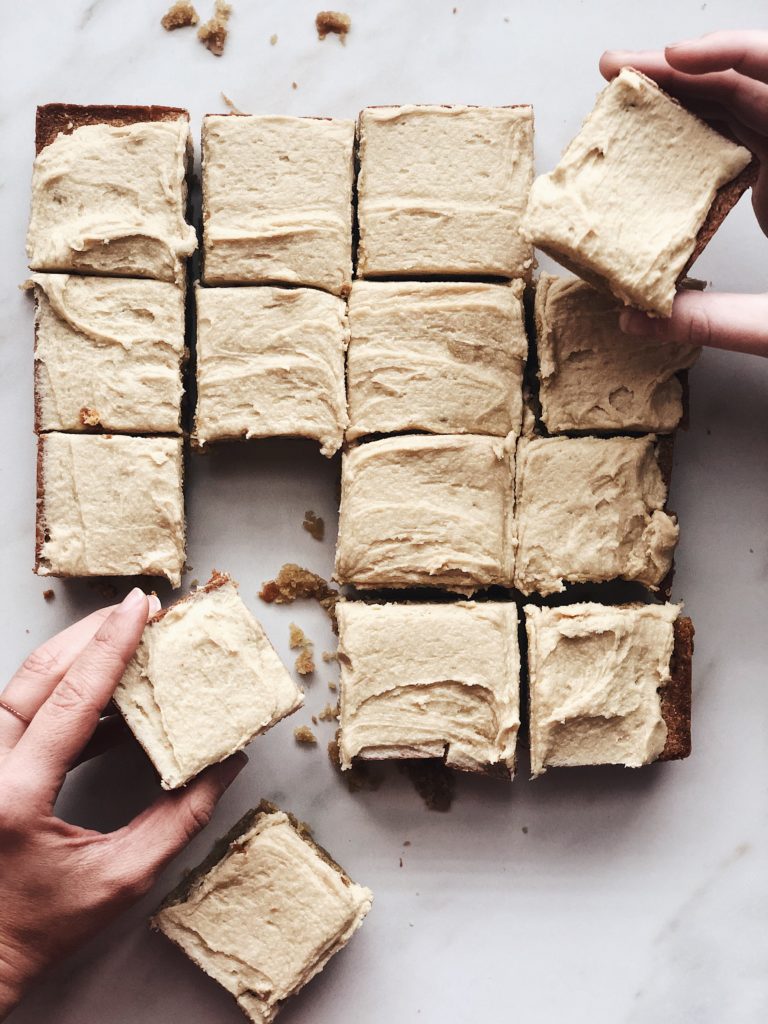
Spread icing on top of cooled banana blondies, cut into equal size squares, and enjoy!
Notes
If you don’t have any browned butter at home, you can make icing with regular softened butter or even serve these blondies with no icing at all! To make browned butter, simple melt butter in a pan over medium-low heat. The butter will begin to separate and you will start to see some milk solids on the bottom of the pan. Do not stir. Allow the milk solids to brown. They will go from brown to burnt quickly, so make sure to watch this step carefully! Browning butter gives it a deeper, more complex, and slightly nutty flavor. Once milk solids have browned, remove from heat and allow butter to cool and begin to re-solidify. There you have it – browned butter! *Check out the browned butter tutorial in our video class library to see how it’s done!*
Your health and safety are extremely important to us.
We are taking every precaution to ensure a safe and sanitary kitchen and classroom environment. We regularly clean and disinfect our facility throughout the day and class sizes are currently limited to practice proper distancing. All staff is required to wear a face mask. We are doing everything we can to keep our guests and SLICE team safe, and are asking for your help with these additional precautions:
Upon arrival, you will sign in and have your temperature taken at the front desk. Any guests with a temperature over 100 degrees will be asked to go home.
You will be required to wear a face mask and gloves during the prep and cooking segments of class. You will be allowed to remove your face mask once you are seated at a dining table.
Please wash your hands upon arrival and after touching your phone, your face, door handles, and other surfaces outside of the kitchen.