
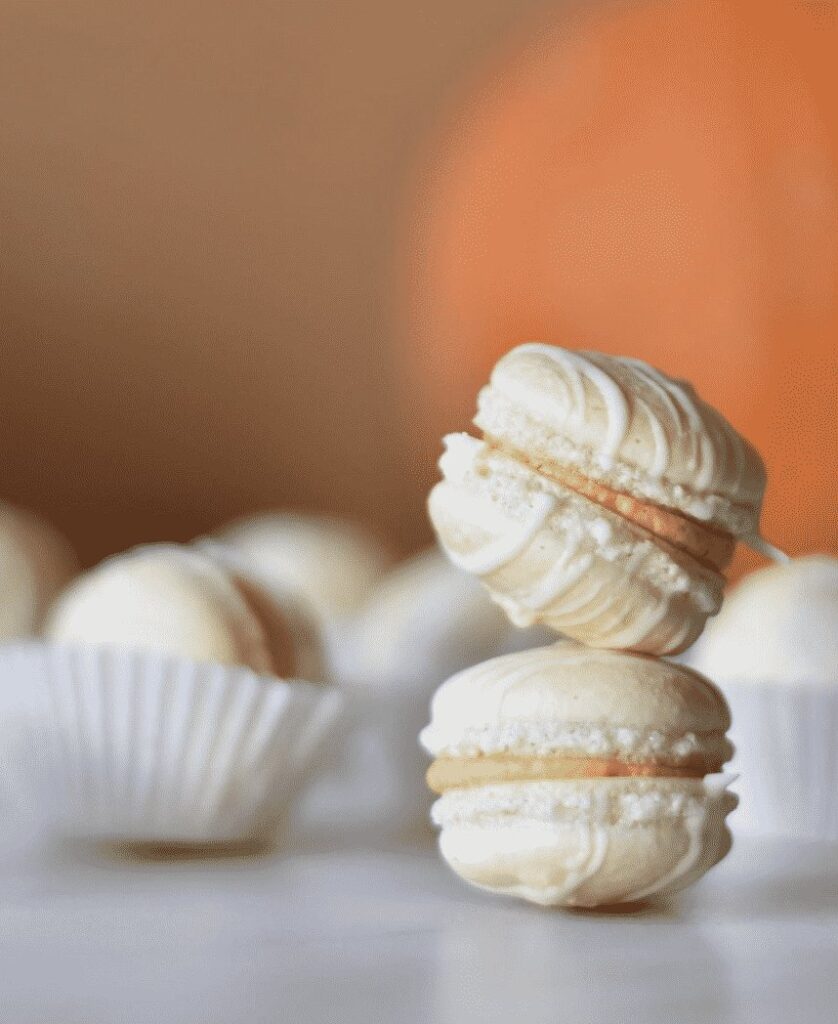
Basic French Macarons
Makes about 20 macarons
Is it macaron or macaroon? The macaroon – or coconut macaroon as it is commonly known – is a rustic, chewy drop cookie made with shredded coconut, sugar and egg whites. The French macaron, on the other hand, is a delicate, crisp meringue cookie made from finely ground almonds, egg whites and sugar. Two feather-light meringues are sandwiched together with either buttercream, fruit or chocolate ganache. Macarons range from the original biscuit-colored almond-flavored confection, to an artist’s palette of colors and flavors. They require fairly exacting technical execution, so you may not produce perfect macarons on your first try. However, mistakes seldom taste this good, and achieving the perfect macaron is a true culinary coup!
Ingredients:
- 3/4 cup finely ground almond flour (2.75 ounces or 78 grams)*
- 2/3 cup confectioners’ sugar (3.4 ounces or 96 grams)
- 2 large aged egg whites (2 ounces or 60 grams),** brought to room temperature
- 3 1/2 tablespoons granulated sugar (1.7 ounces or 48 grams)
- 1/2 teaspoon vanilla
- Gel, paste, or powdered food coloring (optional)
- Sprinkles or finely chopped nuts (optional)
- 1/2 cup Buttercream Filling and/or 1/2 cup fruit curd (recipes follow)
Equipment:
- 1 3/8-inch round cutter or template
- Pastry bag
- ½-inch Plain piping tip (Ateco #806)
- Heavy rimmed baking sheets; each line with a silicone baking mat or parchment paper
Instructions:
- Combine the almond flour and confectioners’ sugar in the bowl of a food processor; process for 1½ to 2 minutes. Sift the mixture through a fine mesh strainer into a medium mixing bowl and set aside.
- Place the egg whites in a clean work bowl of an electric stand mixer fitted with a clean whisk attachment; whisk on medium-low speed until frothy. Increase the speed to medium, and continue whisking until soft peaks form, about 2 minutes; with the mixer running, gradually add the granulated sugar.
- Increase the speed to medium-high; continue whisking until the whites are glossy and will hold a firm peak when the whisk attachment is lifted, about 3 minutes. Add vanilla and food coloring to achieve the desired tint, if using. (Note: Tint the meringue slightly darker than the desired final shade, as adding the almond flour will dilute the color.) Remove the bowl from the stand mixer. Sift half of the almond flour/confectioners’ sugar mixture over the meringue. Use a rubber spatula to fold the flour mixture into the meringue using approximately 10 strokes (the mixture will not be completely homogenous). Sift the remaining flour mixture into the bowl, then continue to fold until the mixture is thick and smooth. You don’t need to be gentle; the goal is to incorporate the dry ingredients quickly to avoid over-mixing. You should use no more than 50 strokes (you may need less than 50 strokes). A ribbon of batter dropped from the spatula back into the bowl should “melt” back into the rest of the batter in about 30 seconds.
- Spoon the batter into a piping bag fitted with a ½-inch plain piping tip. Pipe the batter onto the silicone baking mat or parchment using the template as a guideline. Tap the pans firmly against the countertop 2 or 3 times. Small peaks on the tops should settle back into the batter leaving the surface smooth and flat. After letting cookies dry for 5 minutes, sprinkle to with sprinkles, sugar, nuts, if desired. (Letting the cookies dry for a few minutes ensures the topping won’t be absorbed by the cookie.) Let the piped batter dry for at least 30 minutes and up to 2 hours.
- While the batter is drying, preheat the oven on convection setting to 320°F (for conventional oven preheat to 350°F). Bake for 11 to 12 minutes, rotating the pan and wafting the air halfway through the baking time. At the 5-minute mark, the meringue shells should have risen slightly and developed “feet” (a small, ruffled ridge at the bottom of each meringue). At 6 to 7 minutes, the shells should have colored only very lightly, and the tops should be firm and glossy.
- Remove from the oven, and place on a wire rack to cool for 10 to 15 minutes. Gently lift the meringue shells from the silicone baking sheet. If the meringues stick, loosen them with a small offset spatula or allow them to cool a bit longer. Transfer the shells to a wire rack and leave to cool completely. (Note: When cool, shells may be frozen for up to 2 weeks. Thaw in the refrigerator, then fill.)
- Place buttercream, curd, or filling of your choice in small piping bags. Pipe a heaping teaspoon of filling onto the bottom (flat side) of a meringue, leaving a small border around the edges. Top the filling with a second meringue and press very lightly (meringues are fragile) to form a sandwich cookie; the filling should spread to the edges of the meringues. Continue this process with the remaining meringues and filling.
- Macarons may be refrigerated for 2 to 3 days and in fact are best after being refrigerated. Bring macarons to room temperature before serving.


*Our top tips for making macarons*
Use a Mat: If you can, buy a silicon mat designed specifically for making macarons. You don’t have to buy a mat; you can draw a template onto parchment paper; the advantage to the mat is the indentations help to create a perfect shape.
Colored Macarons: For colored macarons, use food coloring paste not a liquid; using a liquid alters the macaron texture. Colorings should be added to the liquid egg whites. Add more rather than less at this stage, this will make a darker color than you ultimately want; however, it will lighten considerably with whisking and the addition of the sugar.
Be Prepared: Weigh and measure all your ingredients before you start and always sieve the icing sugar and the ground almond; you may think skipping this step will not matter; it does. Not sieving, you risk lumps in the mixture which will flatten the macaron mixture.
Clean and Sparkly: Use egg whites that are a few days old and at room temperature. Before whisking make sure your whisk and bowl are sparkling clean and grease free.
Slowly Does it: Don’t add all the sugar to the egg whites in one go, in three parts is usually best. Whisk the egg whites really, really well, they should be so stiff you can turn the bowl upside down, and they will not fall out.
Do not be heavy-handed: When mixing the almond / icing sugar to the beaten egg whites, use a slim spatula and fold quickly and gently. You will lose a lot of the air, but the resulting batter should still be thick and airy. Too runny and you have over worked it.
Less is More: Use a simple round nozzle in your piping bag, anything fancier is a waste of time. Less is more when piping onto the mat or parchment paper; you do not have to fill to the brim as the mixture will settle and fill the indent.
Tap and Wait: Once piped, tap the baking sheet sharply on the work top to remove any air bubbles and to help the mixture settle. Leave the piped macarons to dry before cooking; 20 – 30 mins is best; the macarons surface will dry and become smooth.
Waft, Waft: Half way through cooking, open the oven door and quickly waft it a few times to allow any steam to escape. Close the door and finish the cooking.
Be Patient: Once cooked, slide the mat / parchment onto a cooling rack and leave the macarons to go completely cold. DO NOT be tempted to remove the macarons until they are cold, you will be upset if you do; the macarons will stick.
Gently Does it and More Patience: Pipe the filling on to the flat side of one macaron, place the other on top and twist gently to spread the cream. Once the macarons are filled and you are about to think of eating them, just know; they are best kept in a container inside the fridge overnight. The end result is a more chewy and better flavored macaron. It’s tough I know but it does work.
And Finally: If you do not have the time to complete making the macarons once cooked, or want to prepare some in advance, the shells freeze really well. Put them into strong container so they don’t break and keep in the freezer for no longer than a month. Always make the buttercream filling fresh, this does not freeze very well.
*A few extra notes*
* Almond flour, also called almond meal, is finely ground almonds. It is sold in health food stores and some grocery stores. Almond flour may be ground from almonds with or without their skins. For macarons, almond flour made from skinless almonds is the best choice. Almond flour may be very moist. If it clumps together when squeezed in your hand, spread the flour on a baking sheet and place in a 200°F degree oven for 5 to 10 minutes. Allow to cool completely before mixing with confectioners’ sugar.
** To age egg whites, separate the yolks from the whites; save the yolks for another use. Place the whites in a clean container, and cover with a piece of cheesecloth or a paper towel. Leave at room temperature for 24 to 48 hours or in the refrigerator for 2 to 3 days. To “quick age,” microwave egg whites for 10 seconds on medium power. Egg whites are 87% water and 10% protein. Aging the egg whites reduces the moisture content through evaporation. This creates a more stable meringue which yields a macaron with well-defined feet and a less fragile shell. Whipping the egg whites at room temperature will allow them to achieve their maximum expansion.
Variations: Shells for classic macarons are made of only 4 ingredients; almond flour, egg whites, confectioners’ sugar and granulated sugar. While the meringue may be colored to represent a flavor, flavorings are not typically added to the meringue; flavorings are added to the filling.
By Salt Lake Culinary Education